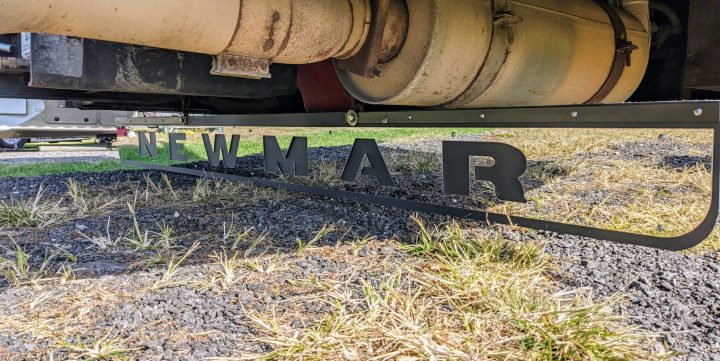
It seems every “class A” motorhome trails with a badge of honor for the manufacturer. It serves a purpose to protect the “towed vehicle” (a/k/a toad) behind the motorhome from being pelted in rocks or whatever else the road surface will kick up from the tires into the front of it. Our “Newmar” tow guard (a/k/a mud flap, rock flap, etc.) was bent up, worn, looked pretty hideous, and probably wasn’t doing much of a good job anymore.
The overall job was not that difficult, but getting the right 8′ long tow guard was more difficult than it needed to be. The first we ordered through Newmar parts and service was the wrong one (#78938), it came via semi-truck freight and was twice the size that we needed. We, fortunately, were passing by the Newmar mothership in Napanee Indiana and we returned that one in person. Apparently, there were two models used on a KountryStar, so make sure you know which you will need for your rig.
Parts and Supplies
All of the parts for this project were purchase through the Newmar Parts & Service department directly.
- #136753 – Tow Guard 8 x 95-1/8 W/NM SS STL ($475 x 1)
- #89386 – STEEL STONE GUARD DRV 07EX mounting strips ($15 x 4)
- #04098 – MUD FLAP SCRW&NUT PKG F/ NMPLT ($14)
Tools
- Cordless drill, Phillips driver, socket driver, and 9/16″ socket
- 11/32″ wrench
- Vise grip
Process
The process of changing it out was pretty straightforward to do and took about an hour total.
- Remove the old one using a vise grip and a 9/16″ socket on a cordless drill.
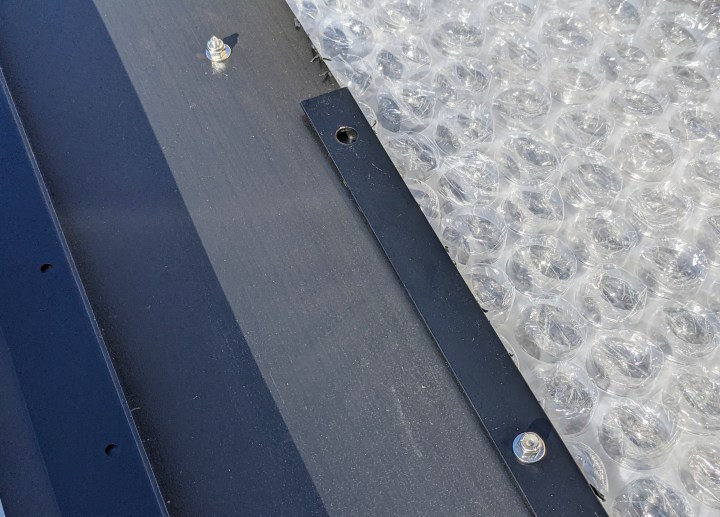
- Drill pilot holes for the mounting strips and secure them by using the hardware kit (#04098) to secure them to the top of the flap.
- Drill out the larger mounting holes where the chains will secure.
- Then just re-hang it on the two chains, using the vise grip and 9/16″ socket again you will zip it back on quickly.